

This might look a little familiar…we had a little oopsie on the date that my blog post should have been set for. Sorry about that! It’s back today at the right time and on the right day. 🙂
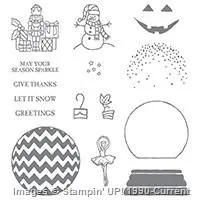
Kylie Bertucci asked me to join the Global Design Project this week as a guest designer and I jumped at the chance to join an amazing group of Stampin’ Up! Demonstrators from around the world. 🙂 I pulled out the Stampin’ Up! Sparkly Seasons stamp set to create my card for the sketch challenge this week.


The Global Design Project has a great sketch to play along with this week. Here is GDP006:


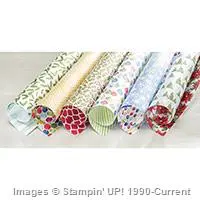
I started by adhering a panel from the Holiday Fancy Foil Designer Vellum face down to a panel of Cherry Cobbler card stock. I adhered it with SNAIL, but hid the adhesive under the area where I would be placing the DSP panel. I adhered another panel of White Vellum over the Holidays Fancy Foil Vellum so that the snowflakes would be very muted. I adhered the layered panel to a Night of Navy card base with Stampin’ Dimensionals.


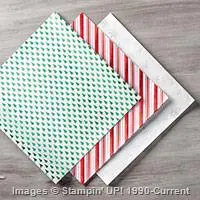
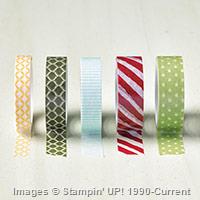
I cut the panel of DSP from the Season of Cheer DSP pack at an angle across the bottom, then I adhered strips of Season of Cheer Designer Washi Tape to strips of Whisper White card stock. I trimmed the strips down to 3/8″ wide and I adhered them to the DSP panel with SNAIL.


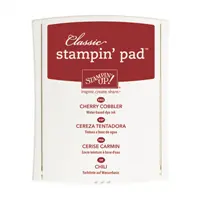
I stamped the sentiment from the Sparkly Seasons photopolymer stamp set in Cherry Cobbler ink across a thin strip of Whisper White card stock, then inked the snowflake image from the Among the Branches photopolymer stamp set in Night of Navy Ink, stamped it on scrap paper, then stamped it between the sentiment on the Whisper White strip. I adhered the Whisper White sentiment strip to a strip of Cherry Cobbler card stock, then to the DSP panel with SNAIL.


One quick tip for adhering strips of card stock across an angled panel: Make the strips longer than they need to be, then adhere them across at the angle needed and trim the overhang off with your Paper Snips or trimmer. That way you get everything lined up straight and have the angles on the ends of the paper match too!


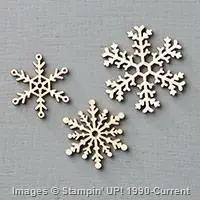
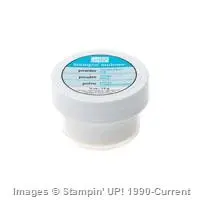
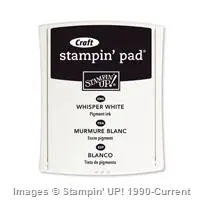
I tapped one of the Snowflake Elements on my Whisper White Stampin’ Craft ink pad, then sprinkled it with Iridescent Ice Emboss Powder and I heat embossed it. That gives the snowflake a little shimmer without being super glittery. I adhered the wooden snowflake to the card front with a Glue Dot to finish it.


I adhered a strip of Season of Cheer DSP to a Whisper White panel inside the card.
You can find a complete list of supplies, including card stock cuts, at the very bottom of this post.
If you need any stamping supplies, I’d be very happy to be your Demonstrator. Just click on the Order Stampin’ Up! Online Now button on the right side of the screen to go directly to my online store or drop me an email if you have any questions. Happy Stamping!


- Night of Navy – 4-1/4″ x 11″ card base
- Cherry Cobbler – 4″ x 5-1/4″ panel, 3/8″ x 5-1/2″ strip
- Whisper White – 3/16″ x 5-1/2″ strip, two 3/8″ x 5-1/2″ strips, 4″ x 5-1/4″ panel (inside card)
- Season of Cheer Designer Series Paper – 3-7/8″ x 5-1/8″ panel cut at angle, 5/8″ x 4″ strip (inside card)
Stampin’ Up! items used to create this project:


Built for Free Using: My Stampin Blog