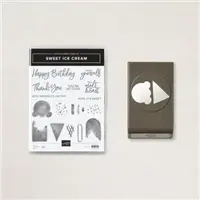
I used the Stampin’ Up! Sweet Ice Cream stamp set bundle to create a quick birthday card and gift box to share with you today. I also a video tutorial for this project and you can see it on my YouTube channel here.


My card design was inspired by the sketch from SugarPea Mix It Up Challenge 77.


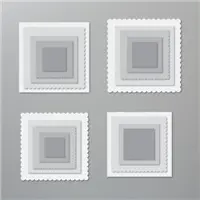
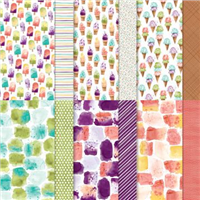
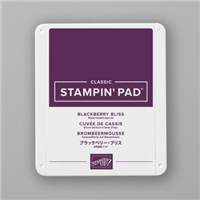
I started the card by cutting a panel of Ice Cream Corner DSP with one of the Curvy Dies and then adhering the die cut panel to a larger panel of Ice Cream Corner DSP with Stampin’ Seal. I cut the layered DSP panel with one of the Stitched Rectangle Dies and then adhered it to a panel of Blackberry Bliss card stock with Stampin’ Seal and then to the front of the Purple Posy card base with Stampin’ Dimensionals.


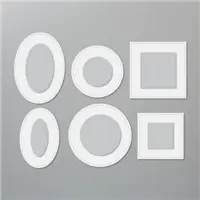
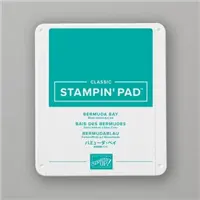
Then I stamped the sentiment from the Sweet Ice Cream photopolymer stamp set in Blackberry Bliss ink on a panel of Basic White card stock. Then I cut the image out with one of the Stitched Shapes Dies. I inked the dot image from the Sweet Ice Cream stamp set in Bermuda Bay ink, stamped it on scrap paper twice and then stamped it on the die cut sentiment panel two times. I adhered the sentiment to the card front with Stampin’ Dimensionals.


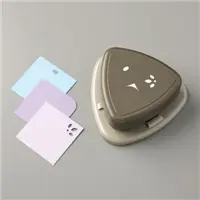
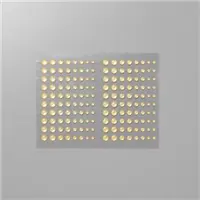
I punched the ice cream and cone images from the Ice Cream Corner DSP with the Ice Cream Cone Builder Punch and then adhered the pieces with Stampin’ Seal to the card front. I added a single Gold Glitter Enamel Dot to finish the card front.


I stamped the sentiments from the Sweet Ice Cream stamp set in Blackberry Bliss ink on a panel of Basic White card stock and then added a small strip of Ice Cream Corner DSP to finish the inside of the card.


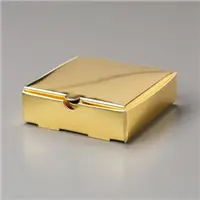
For the gift box, I assembled the Gold Mini Pizza Box and then cut a panel of Ice Cream Corner DSP with one of the Layering Squares Dies. I adhered the die cut DSP to a scalloped square that I’d cut from Purple Posy card stock with another one of the Layering Squares Dies and then to the top of the box with Stampin’ Seal. Then I cut a panel of Basic White card stock with one of the Stitched Shapes Dies and punched a hole in the top with the Detailed Trio Punch.


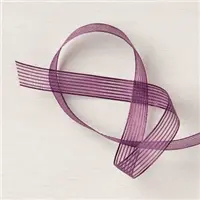
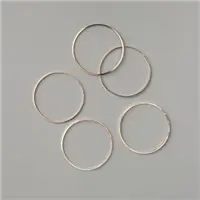
I punched the ice cream and cone images from Ice Cream Corner DSP with the Ice Cream Cone Builder Punch and adhered the pieces with Stampin’ Dimensionals to the die cut oval. I stamped the sentiment from the Oval Occasions stamp set in Blackberry Bliss ink on a panel of Basic White card stock and then cut it out with one of the Tasteful Labels Dies. I adhered the die cut with Stampin’ Seal to the tag. I added a single Gold Glitter Enamel Dot to the tag and then tied the tag and one of the Gold Hoops Embellishments to the Gold Mini Pizza Box with Blackberry Bliss 3/8″ Striped Ribbon.


A little gift box and birthday card all ready to go!
You can see a list of supplies used to create this project, including the card stock cuts, at the very bottom of this blog post.
You can see the YouTube video tutorial for this project here (please note: I got a phone call in the middle of the video and it shut off the video so I had to restart, this is the spliced together video for the entire project):

I’ve created a printable PDF with written instructions and a list of products used to create this project. You can download, print and/or save it by clicking this image:


March 16-31 Host Code: N9WHKGF9
Use this host code when you order $50 or greater and receive a free gift from me! If your order is over $150, please do not use this code, but you’ll still get the free gift. The free gift is your choice of any item valued up to $10.00 in the 2020-21 Annual Catalog or January-June 2021 Mini Catalog! That includes some of the Host Exclusive stamp sets! See my Rewards page for full details.
***Make sure that you can see my name on the final checkout page listed as your Demonstrator when you order so that you know that you’re ordering with me and you’ll get my rewards!
If you need any stamping supplies, I’d be very happy to be your Demonstrator. Just click on the Order Stampin’ Up! Online Now button on the right side of the screen to go directly to my online store or drop me an email if you have any questions. Happy Stamping!


- Visit my online store here. Or scan the QR code below to go right to my online store via mobile device:


- Shop the Clearance Rack here.
- Earn FREE Stampin’ Up! Products – Join my Running Shoe Rewards Program – My online customer thank you program!
- In addition to my online store, also take PayPal payments for orders – Check my Rewards page for more information.
- I offer gift certificates for Stampin’ Up! merchandise too! Click on my Gift Certificates page for more information.
- Follow me on:


Card stock cuts for this project:
- Purple Posy – 5-1/2″ x 8-1/2″ card base scored at 4-1/4″, Layering Squares die cut
- Blackberry Bliss – 3-3/4″ x 5″ panel
- Basic White – two Stitched Shapes die cuts, Tasteful Labels die cut, 4″ x 5-1/4″ panel (inside card)
- Ice Cream Corner Designer Series Paper – Curvy die cut, Stitched Rectangle die cut, four Ice Cream Cone Builder punches, Layering Squares die cut, 5/8″ x 4″ panel (inside card)
Stampin’ Up! products used to create this project: