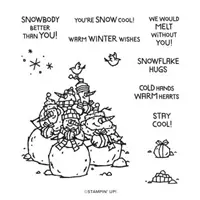
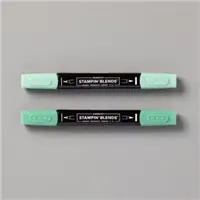
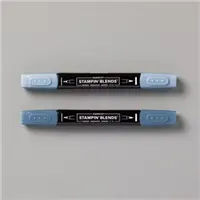
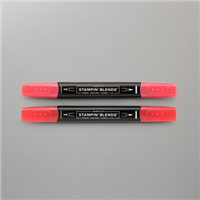
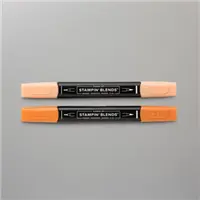
I used the fun Stampin’ Up! Snowbody Better stamp set to create a Christmas card to share with you today. I did a video tutorial for this card on my Facebook page here and you can also see it on my YouTube channel here.


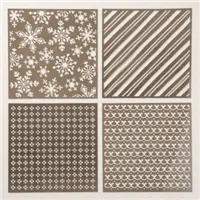
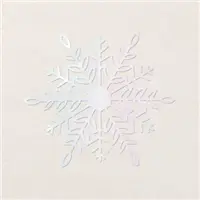
I started by using the Blending Brushes to apply Misty Moonlight ink with one of the Adorning Designs Decorative Mask to the front of a Misty Moonlight card base. Then I adhered one of the Wonderful Snowflakes to the card front with Stampin’ Seal (placed under the area to be covered with the layers).


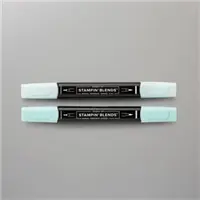
I stamped the snowman image from the Snowbody Better stamp set in Tuxedo Black Memento ink on a panel of Basic White card stock and then colored the image with Light and Dark Just Jade, Misty Moonlight, Poppy Parade, Pool Party and Pumpkin Pie Stampin’ Blends Markers. Then I cut around the image with one of the Stitched Rectangle Dies. I stamped the snowflake image from the Snowbody Better stamp set in Pool Party ink around the snowmen image and then adhered the die cut to the card front with Stampin’ Dimensionals.


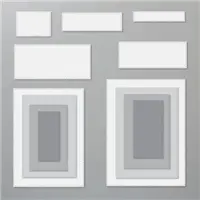
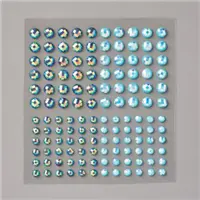
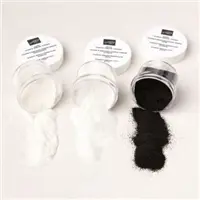
I stamped the sentiment from the Snowbody Better stamp set in VersaMark ink on a panel of Just Jade card stock, sprinkled it with white embossing powder from the Basics Embossing Powders and then heat embossed it. I cut the sentiment out with one of the openings in the Picture This Dies and adhered the sentiment to the card front with Stampin’ Seal. I adhered two Blue Adhesive-Backed Gems near the sentiment to finish the card front.


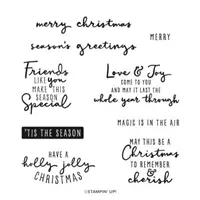
I stamped the sentiment from the Christmas To Remember stamp set in Misty Moonlight ink on a panel of Basic White card stock and then added the gift image from the Snowbody Better stamp set in Tuxedo Black Memento ink under it. I colored the image with Light and Dark Poppy Parade and Pool Party Stampin’ Blends Markers to finish the inside of the card.
You can see a list of supplies used to create this project, including the card stock cuts, at the very bottom of this blog post.
You can see the YouTube video tutorial for this project here:

If you’d prefer to watch the video on Facebook, you can see it here.
I’ve created a printable PDF with written instructions and a list of products used to create this project. You can download, print and/or save it by clicking this image:


September 1-15 Host Code: NEQDVTR2
September 16-30 Host Code: SS33K47V
Use this host code when you order $50 or greater and receive a free gift from me! If your order is over $150, please do not use this code, but you’ll still get the free gift. The free gift is your choice of any item valued up to $10.00 in the 2021-22 Annual Catalog or July-December 2021 Mini Catalog! That includes some of the Host Exclusive stamp sets! See my Rewards page for full details.
***Make sure that you can see my name on the final checkout page listed as your Demonstrator when you order so that you know that you’re ordering with me and you’ll get my rewards!
August-September Sale-a-bration Going On Now!


The Second Sale-a-bration event from Stampin’ Up! is happening now!! This is the first time that Stampin’ Up! has offered a second Sale-a-bration…and it’s got some awesome new products that you can earn for FREE with orders of $50+ and orders of $100+ placed between August 3 and September 30!
The August – September Sale-a-bration event has a buy, host and join promotion just like the Sale-a-bration event earlier this year!
SHOP:
- Spend $50 or more and pick from 8 new products (4 stamp sets, 2 paper packs and a die set!) that are available as free items! ***The Be Dazzling Specialty Paper has sold out and will not be restocked.
- Spend $100 or more and pick from 2 new items (1 stamp set and 1 die set) that are) that are available as free items!
- Click here to head right over to my online store to start shopping now!
HOST:
- There is a new host exclusive stamp set called In Your Words that will be available for FREE with either a personal order of $300+ or a party with sales totaling $300+!
JOIN: There is an AWESOME joining promotion happening! If you purchase the Starter Kit between August 3 and September 30, you’ll get to pick a FREE bundle from this list! Click this image to see full size a printable PDF with the free bundles:


When you purchase the Starter Kit for $99 + taxes (if applicable) before the end of Sale-a-bration, the kit ships for FREE and you get to pick $125 in Stampin’ Up! merchandise and you’ll get an additional FREE bundle from the select twelve listed above (with a value up to $60.25!!) with your kit! Yay!! A free bundle in addition to $125 in merchandise for $99, yes please!!
If you have any questions about joining, please drop me a note at amy@stampwithamyk.com, I’d be happy to chat with you! You can also see additional information on my blog here: https://stampwithamyk.com/join-my-team/ and on my Stampin’ Up! site here: https://amy_koenders.stampinup.net/join_now
If you need any stamping supplies, I’d be very happy to be your Demonstrator. Just click on the Order Stampin’ Up! Online Now button on the right side of the screen to go directly to my online store or drop me an email if you have any questions. Happy Stamping!


- Visit my online store here. Or scan the QR code below to go right to my online store via mobile device:


- Shop the Clearance Rack here.
- Earn FREE Stampin’ Up! Products – Join my Running Shoe Rewards Program – My online customer thank you program!
- Interested in purchasing a Starter Kit so that you can save at least 20% on every order that you place? Check out the details here.
- In addition to my online store, also take PayPal payments for orders – Check my Rewards page for more information.
- I offer gift certificates for Stampin’ Up! merchandise too! Click on my Gift Certificates page for more information.
- Follow me on:


Card stock cuts for this project:
- Misty Moonlight – 4-1/4″ x 11″ card base scored at 5-1/2″
- Just Jade – Picture This die cut
- Basic White – Stitched Rectangle die cut, 4″ x 5-1/4″ panel (inside card)
Stampin’ Up! products used to create this project: